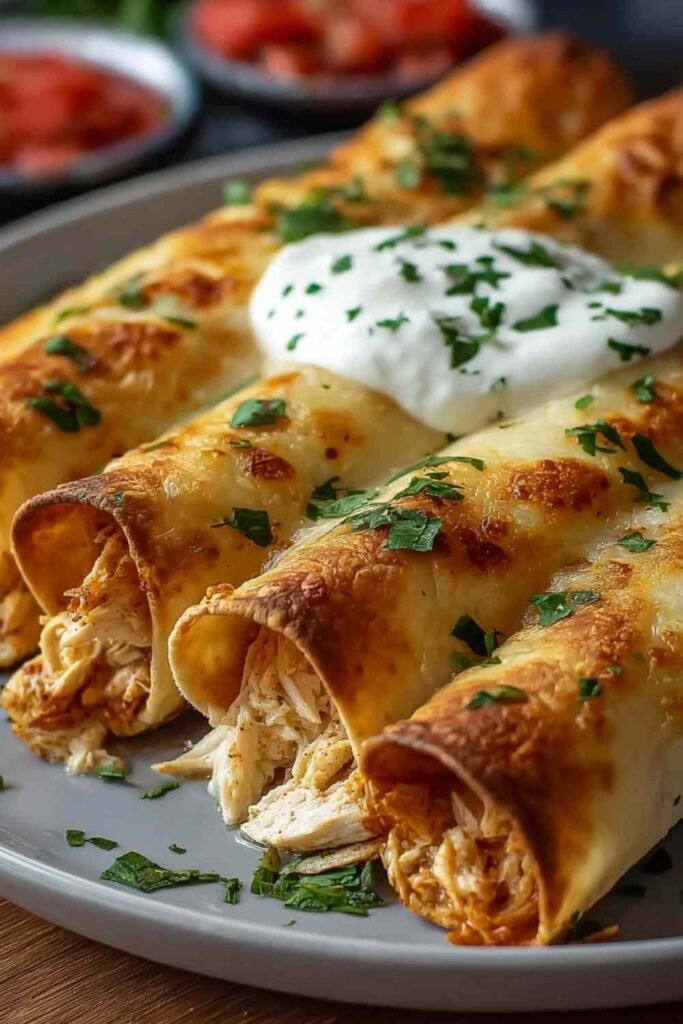
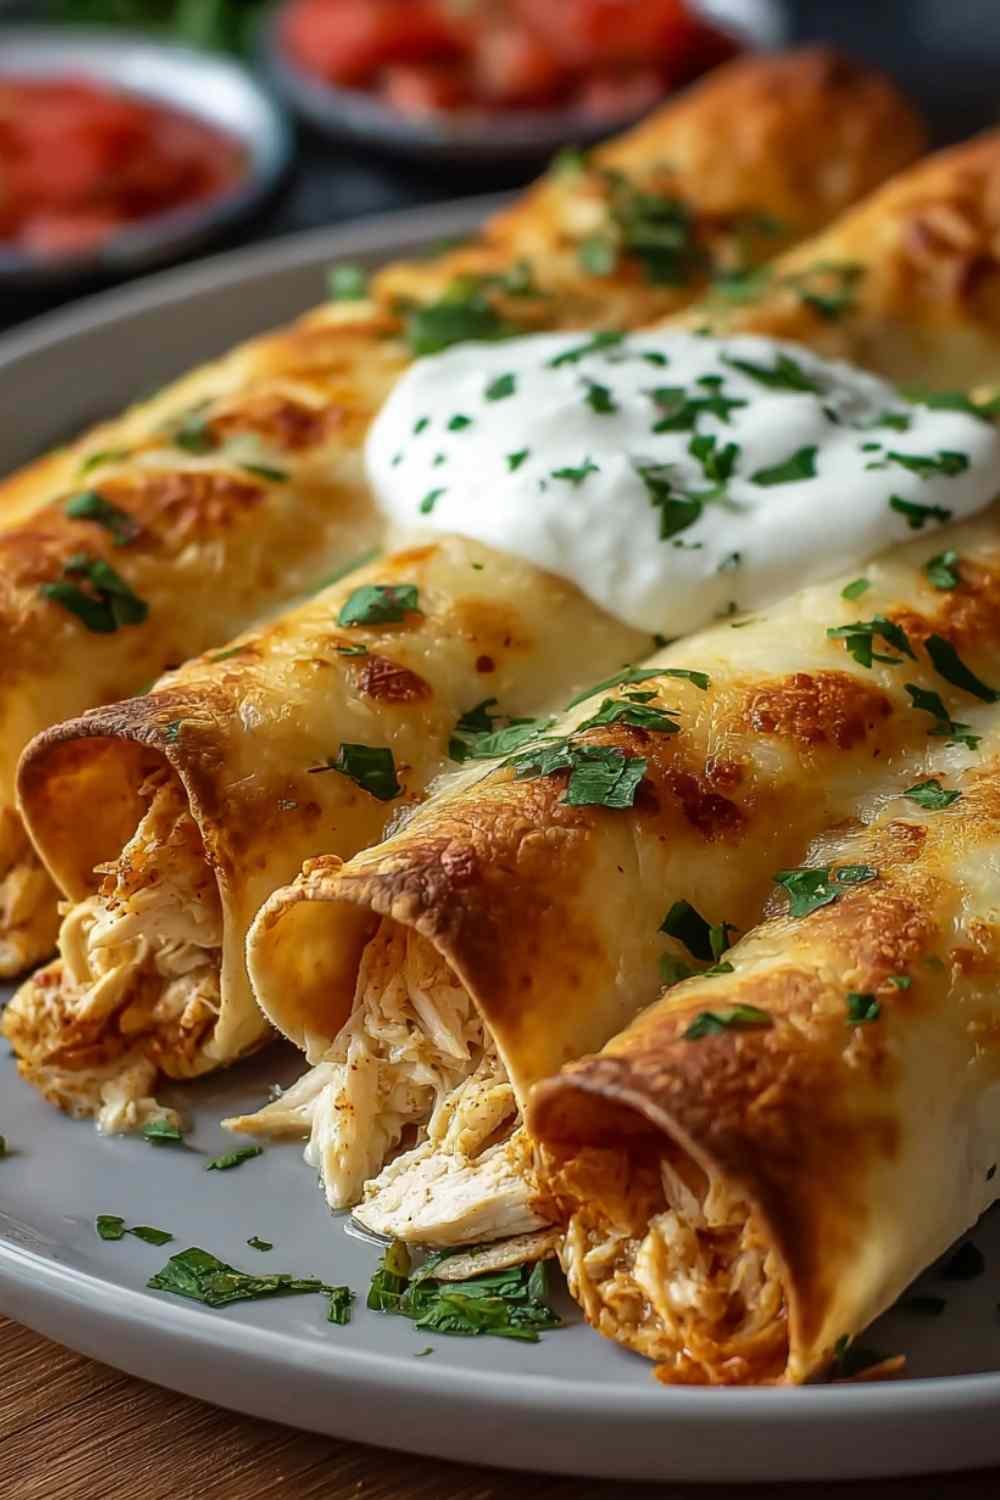
These Baked Cream Cheese Chicken Taquitos deliver crispy, golden perfection with a creamy center that stays put with every bite. I first made these on a chaotic Tuesday when I needed something quick but still felt like a real meal, and they’ve been on repeat ever since. The best part? They’re ready in just 25 minutes from start to finish.
What makes these taquitos so special is that cream cheese filling. The combination of tender chicken, tangy cream cheese, and melted cheddar creates this incredible texture that doesn’t fall apart when you bite in. No messy filling spilling out, no soggy tortillas. Just crispy, cheesy perfection that even picky eaters devour. They bake up golden and beautiful, and you can prep them ahead for those nights when dinner needs to happen fast.
Table of Contents
Ingredients for Baked Cream Cheese Chicken Taquitos
I always keep rotisserie chicken on hand for recipes like this because it cuts your prep time significantly and adds great flavor. My go-to is grabbing one from the store on my way home, and it makes these taquitos come together in under 15 minutes of hands-on work. The cream cheese needs to be softened (it should indent easily when pressed), so I set it out on the counter while I’m shredding the chicken.
- 2 cups cooked chicken (shredded) – Rotisserie chicken works perfectly here
- 4 oz cream cheese (softened) – I recommend leaving it at room temperature for at least 30 minutes before starting
- ½ cup shredded cheddar cheese
- ¼ cup salsa (your favorite kind)
- 1 tsp garlic powder
- 1 tsp onion powder
- 1 tsp cumin – In my experience, this spice makes all the difference in bringing out the Mexican-inspired flavors
- Salt and pepper (to taste)
- 10 small flour or corn tortillas – My preference is flour tortillas because they roll easier and crisp up beautifully
- Cooking spray or olive oil (for brushing) – I usually use olive oil for better browning and flavor
Step-by-Step Instructions
I recommend having all your ingredients measured and ready before you start. This makes assembly go quickly, and your tortillas won’t dry out while you’re measuring.
Step 1: Preheat your oven to 425°F and line a baking sheet with parchment paper. This high temperature is key for getting them crispy without drying out the filling.
Step 2: In a large bowl, combine the shredded chicken, softened cream cheese, cheddar cheese, salsa, garlic powder, onion powder, cumin, salt, and pepper. Mix everything together until smooth and creamy. The mixture should hold together well and be easy to spread. If it seems too thick, you can add another tablespoon of salsa.
Step 3: Warm your tortillas for about 10 seconds in the microwave wrapped in a damp paper towel. This step prevents cracking when you roll them. Place 2 to 3 tablespoons of filling down the center of each tortilla (don’t overfill or they’ll be hard to seal). Roll them up tightly and place seam-side down on your prepared baking sheet. Position them close together so they support each other and hold their shape while baking.
Step 4: Lightly brush or spray the tops with olive oil. Don’t skip this step as it’s what gives you that golden, crispy exterior. Bake for 15 to 18 minutes until the edges are golden brown and crispy. Let them rest for 2 minutes before serving so the filling sets up slightly and doesn’t spill out.

Perfect Pairings for Baked Cream Cheese Chicken Taquitos
These taquitos pair beautifully with sides that balance their rich, creamy filling and add freshness to the plate.
Mexican Rice: Fluffy, seasoned rice soaks up any extra salsa or guacamole and adds a comforting element that completes the meal perfectly.
Black Bean Salad: Fresh black beans tossed with corn, tomatoes, and cilantro provide protein and fiber while adding bright, zesty flavors that cut through the richness of the cream cheese.
Crispy Southwest Salad: A crunchy romaine salad with peppers, avocado, and lime dressing brings freshness and texture contrast that makes every bite interesting.
Cilantro Lime Coleslaw: The tangy, crunchy slaw adds a refreshing element and helps balance the creamy taquitos. The acidity from the lime brightens up the whole plate.
Refried Beans: Warm, smooth refried beans add heartiness and traditional Mexican flavor that pairs naturally with these crispy rolls. They’re also great for dipping!
If you’re looking for another creamy chicken dinner, try this Protein-Packed Garlic Cream Chicken Skillet that’s ready in about the same time.
How to Store and Reheat
Store leftover taquitos in an airtight container in the refrigerator for up to 3 days. They’ll lose a bit of their crispiness but still taste delicious. The filling stays creamy and flavorful.
For reheating, I recommend using the oven at 375°F for about 10 minutes to restore that crispy exterior. A toaster oven works great too. The microwave will work in a pinch (about 45 seconds), but you’ll lose the crunch. Pro tip: these freeze beautifully! Assemble them completely, freeze on a baking sheet until solid, then transfer to a freezer bag for up to 3 months. Bake straight from frozen at 425°F, adding just 5 extra minutes to the cook time.
These taquitos are incredibly versatile beyond dinner. Serve them as appetizers for game day, pack them in lunch boxes (they’re great at room temperature too), or make them the star of taco Tuesday. They pair just as well with ranch dressing, chipotle mayo, or fresh pico de gallo if you want to mix up the dipping sauces.
FAQs
Can I use corn tortillas instead of flour?
Absolutely! Corn tortillas work well and give a more authentic taste. Warm them a bit longer (about 15-20 seconds) to make them more pliable and less likely to crack. They’ll have a slightly different texture but still crisp up nicely in the oven.
How do I prevent the taquitos from unrolling while baking?
Place them seam-side down on the baking sheet and position them close together so they support each other. The cream cheese filling also acts as a natural “glue” that helps seal them as it bakes and firms up.
Can I make these ahead for meal prep?
Yes! Assemble the taquitos completely, then either refrigerate for up to 24 hours before baking or freeze them for up to 3 months. They’re perfect for busy weeknights when you need dinner fast. Just pop them in the oven straight from the fridge or freezer.
Conclusion
These Baked Cream Cheese Chicken Taquitos prove that quick dinners can still be incredibly satisfying. With just a few simple ingredients and 25 minutes of your time, you’ll have a crispy, creamy meal that brings everyone to the table. Give them a try tonight and watch them disappear faster than you can say seconds. They’re about to become your new favorite easy dinner solution.

Baked Cream Cheese Chicken Taquitos
Ingredients
Equipment
Method
- Preheat your oven to 425°F and line a baking sheet with parchment paper.
- In a large bowl, combine the shredded chicken, softened cream cheese, cheddar cheese, salsa, garlic powder, onion powder, cumin, salt, and pepper. Mix until creamy and well blended.
- Warm tortillas for about 10 seconds in the microwave wrapped in a damp paper towel. Place 2 to 3 tablespoons of filling down the center of each tortilla and roll tightly. Place seam-side down on the prepared baking sheet, positioning them close together.
- Lightly brush or spray the tops with olive oil or cooking spray. Bake for 15 to 18 minutes until golden brown and crispy.
- Let rest for 2 minutes, then serve hot with sour cream, guacamole, or extra salsa for dipping.
Notes


